7 Tips, Tricks, and Common Mistakes to Avoid when Wiring a Race Car
Published by Crate Insider on 8th Apr 2014
There are numerous schools of thought on how to wire a race car, and everyone has their own way of doing things. However, there are several best practices that will keep your car running smoothly and save you time in the long run by helping you avoid tracking down electrical issues midway through the season.
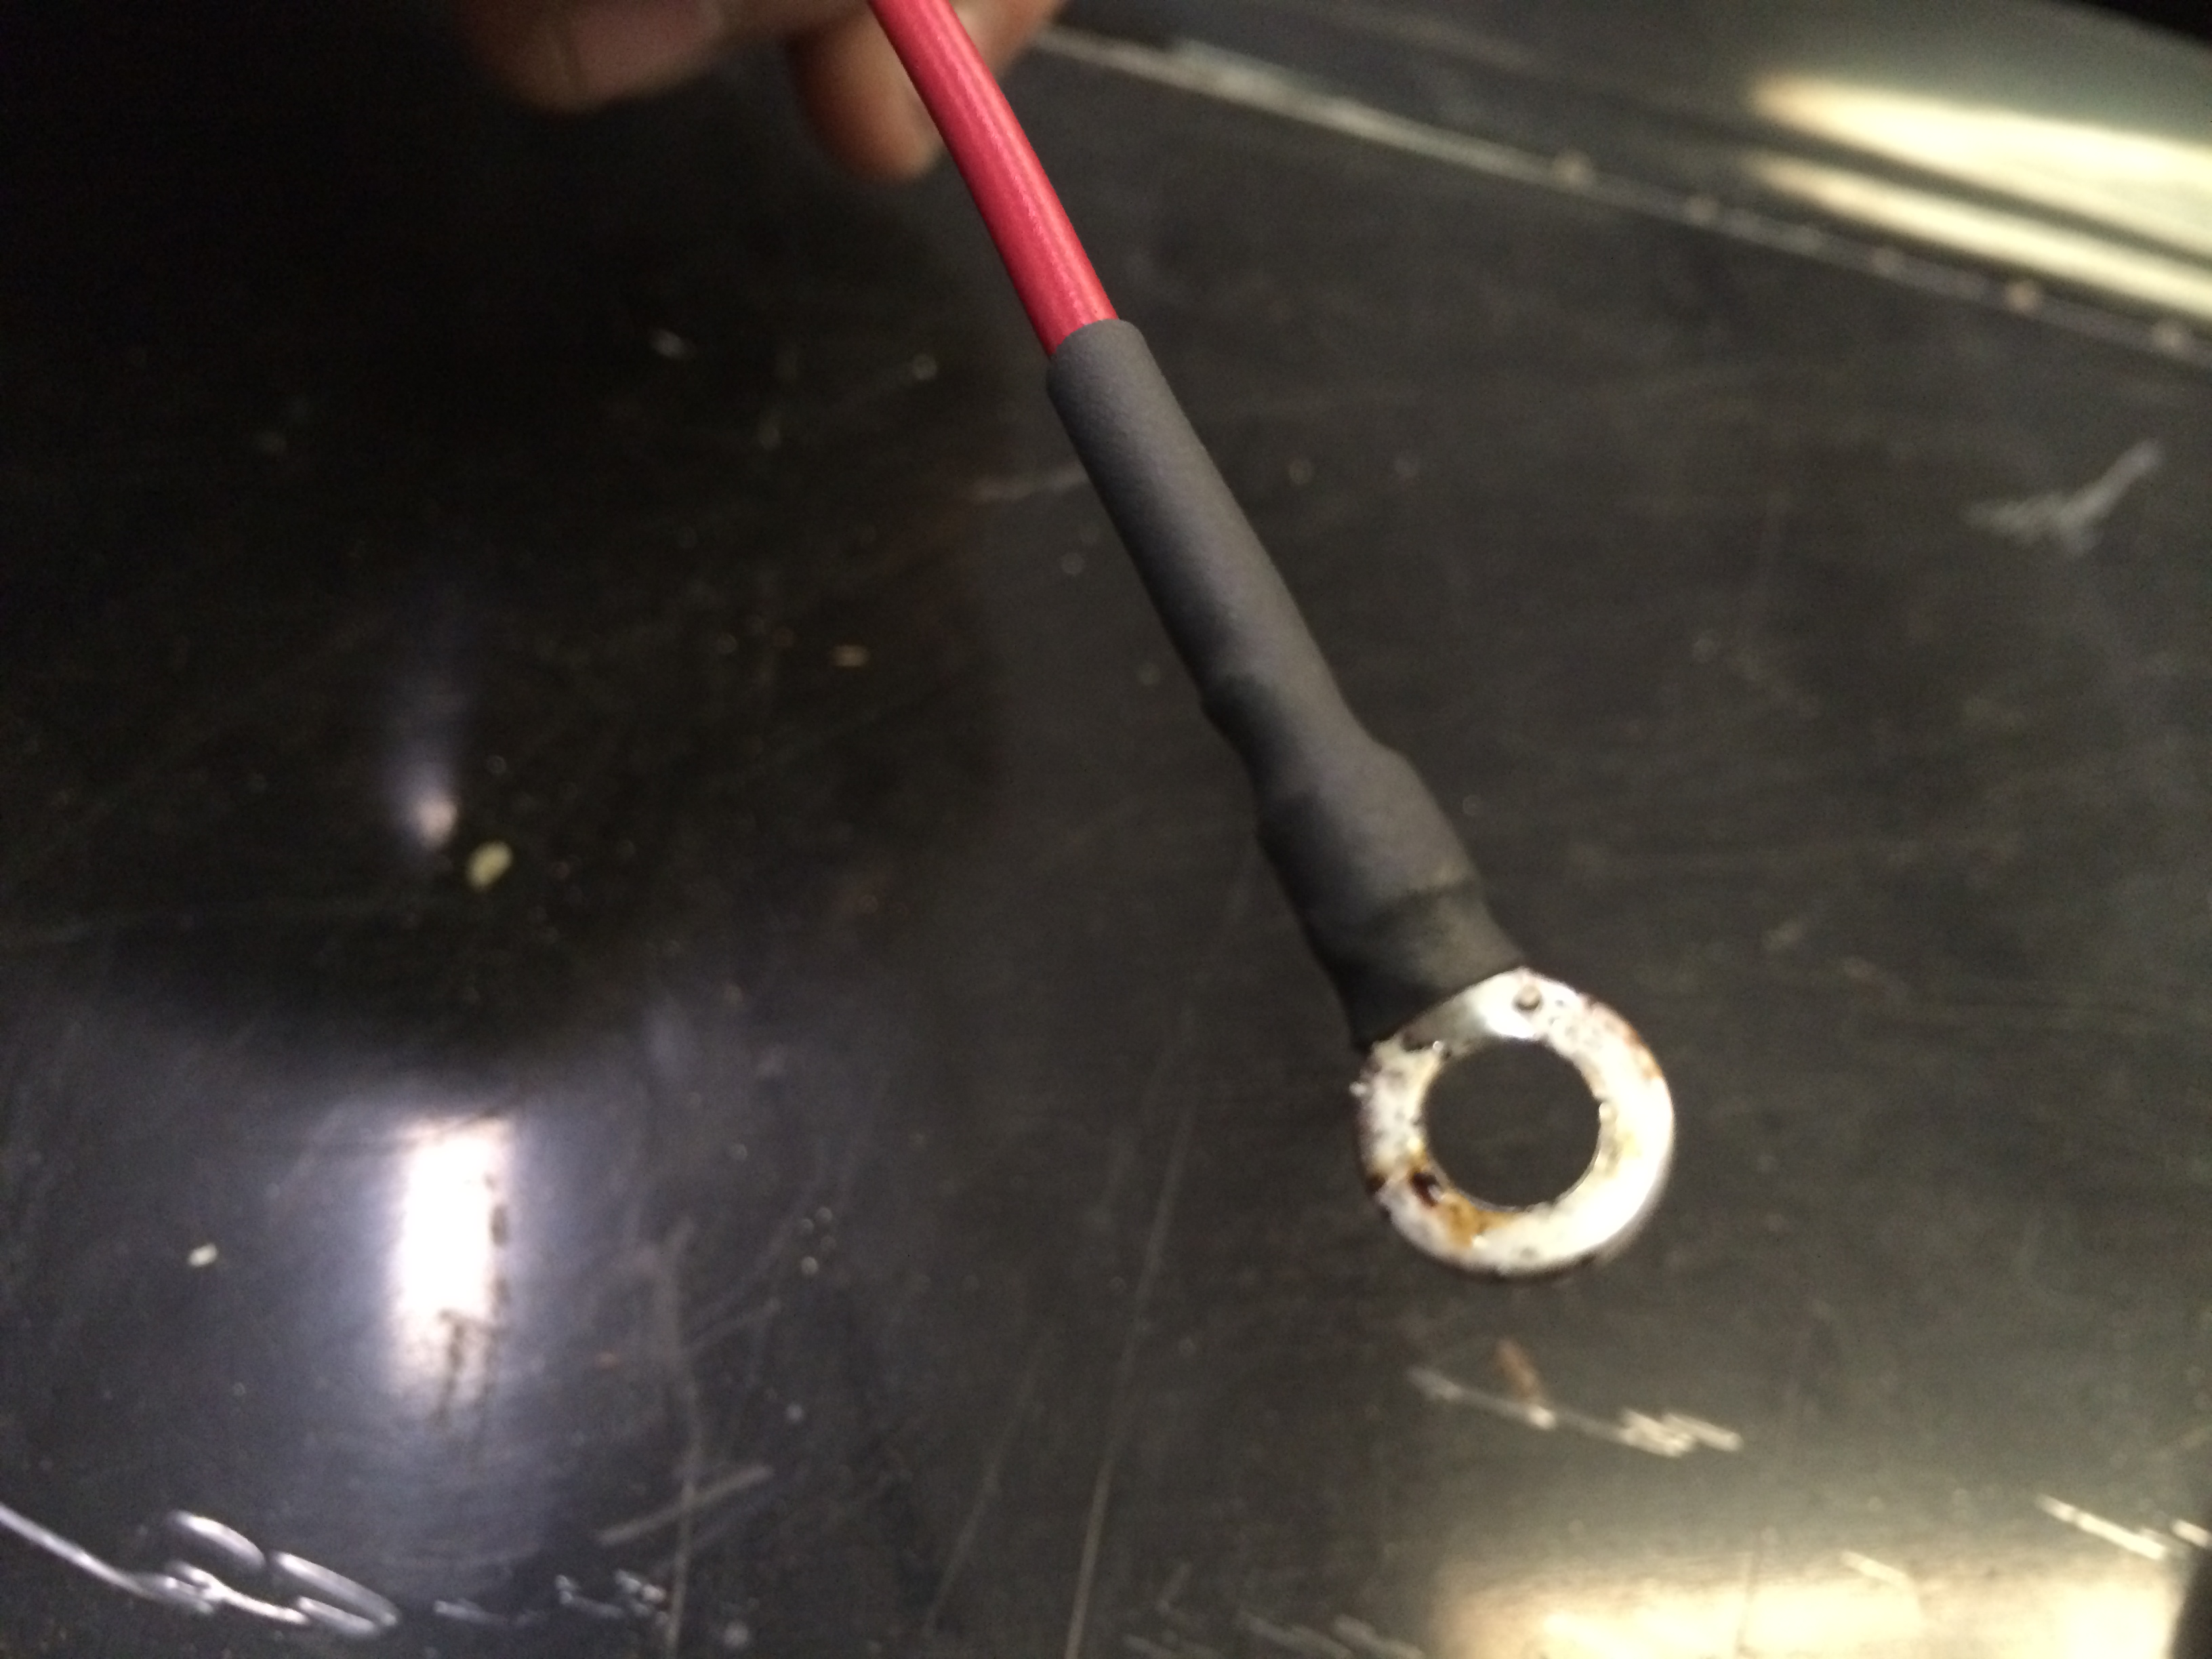
#1—Dirt interfering with connection points and vibrations shaking connections loose are the biggest culprits for disrupting your electrical system. Both of these problems can be solved with one simple solution: rather than crimping your connectors to your wires, solder them. This provides 100% pure contact between the wire and the connector. Racing is too tough of an environment for a crimped end to withstand for an entire season. Vibrations loosen the end enough to allow fine dust to accumulate within the sleeve, weakening the connection and eventually killing it altogether.

When soldering is complete, use shrink tubing to cover any exposed wire.
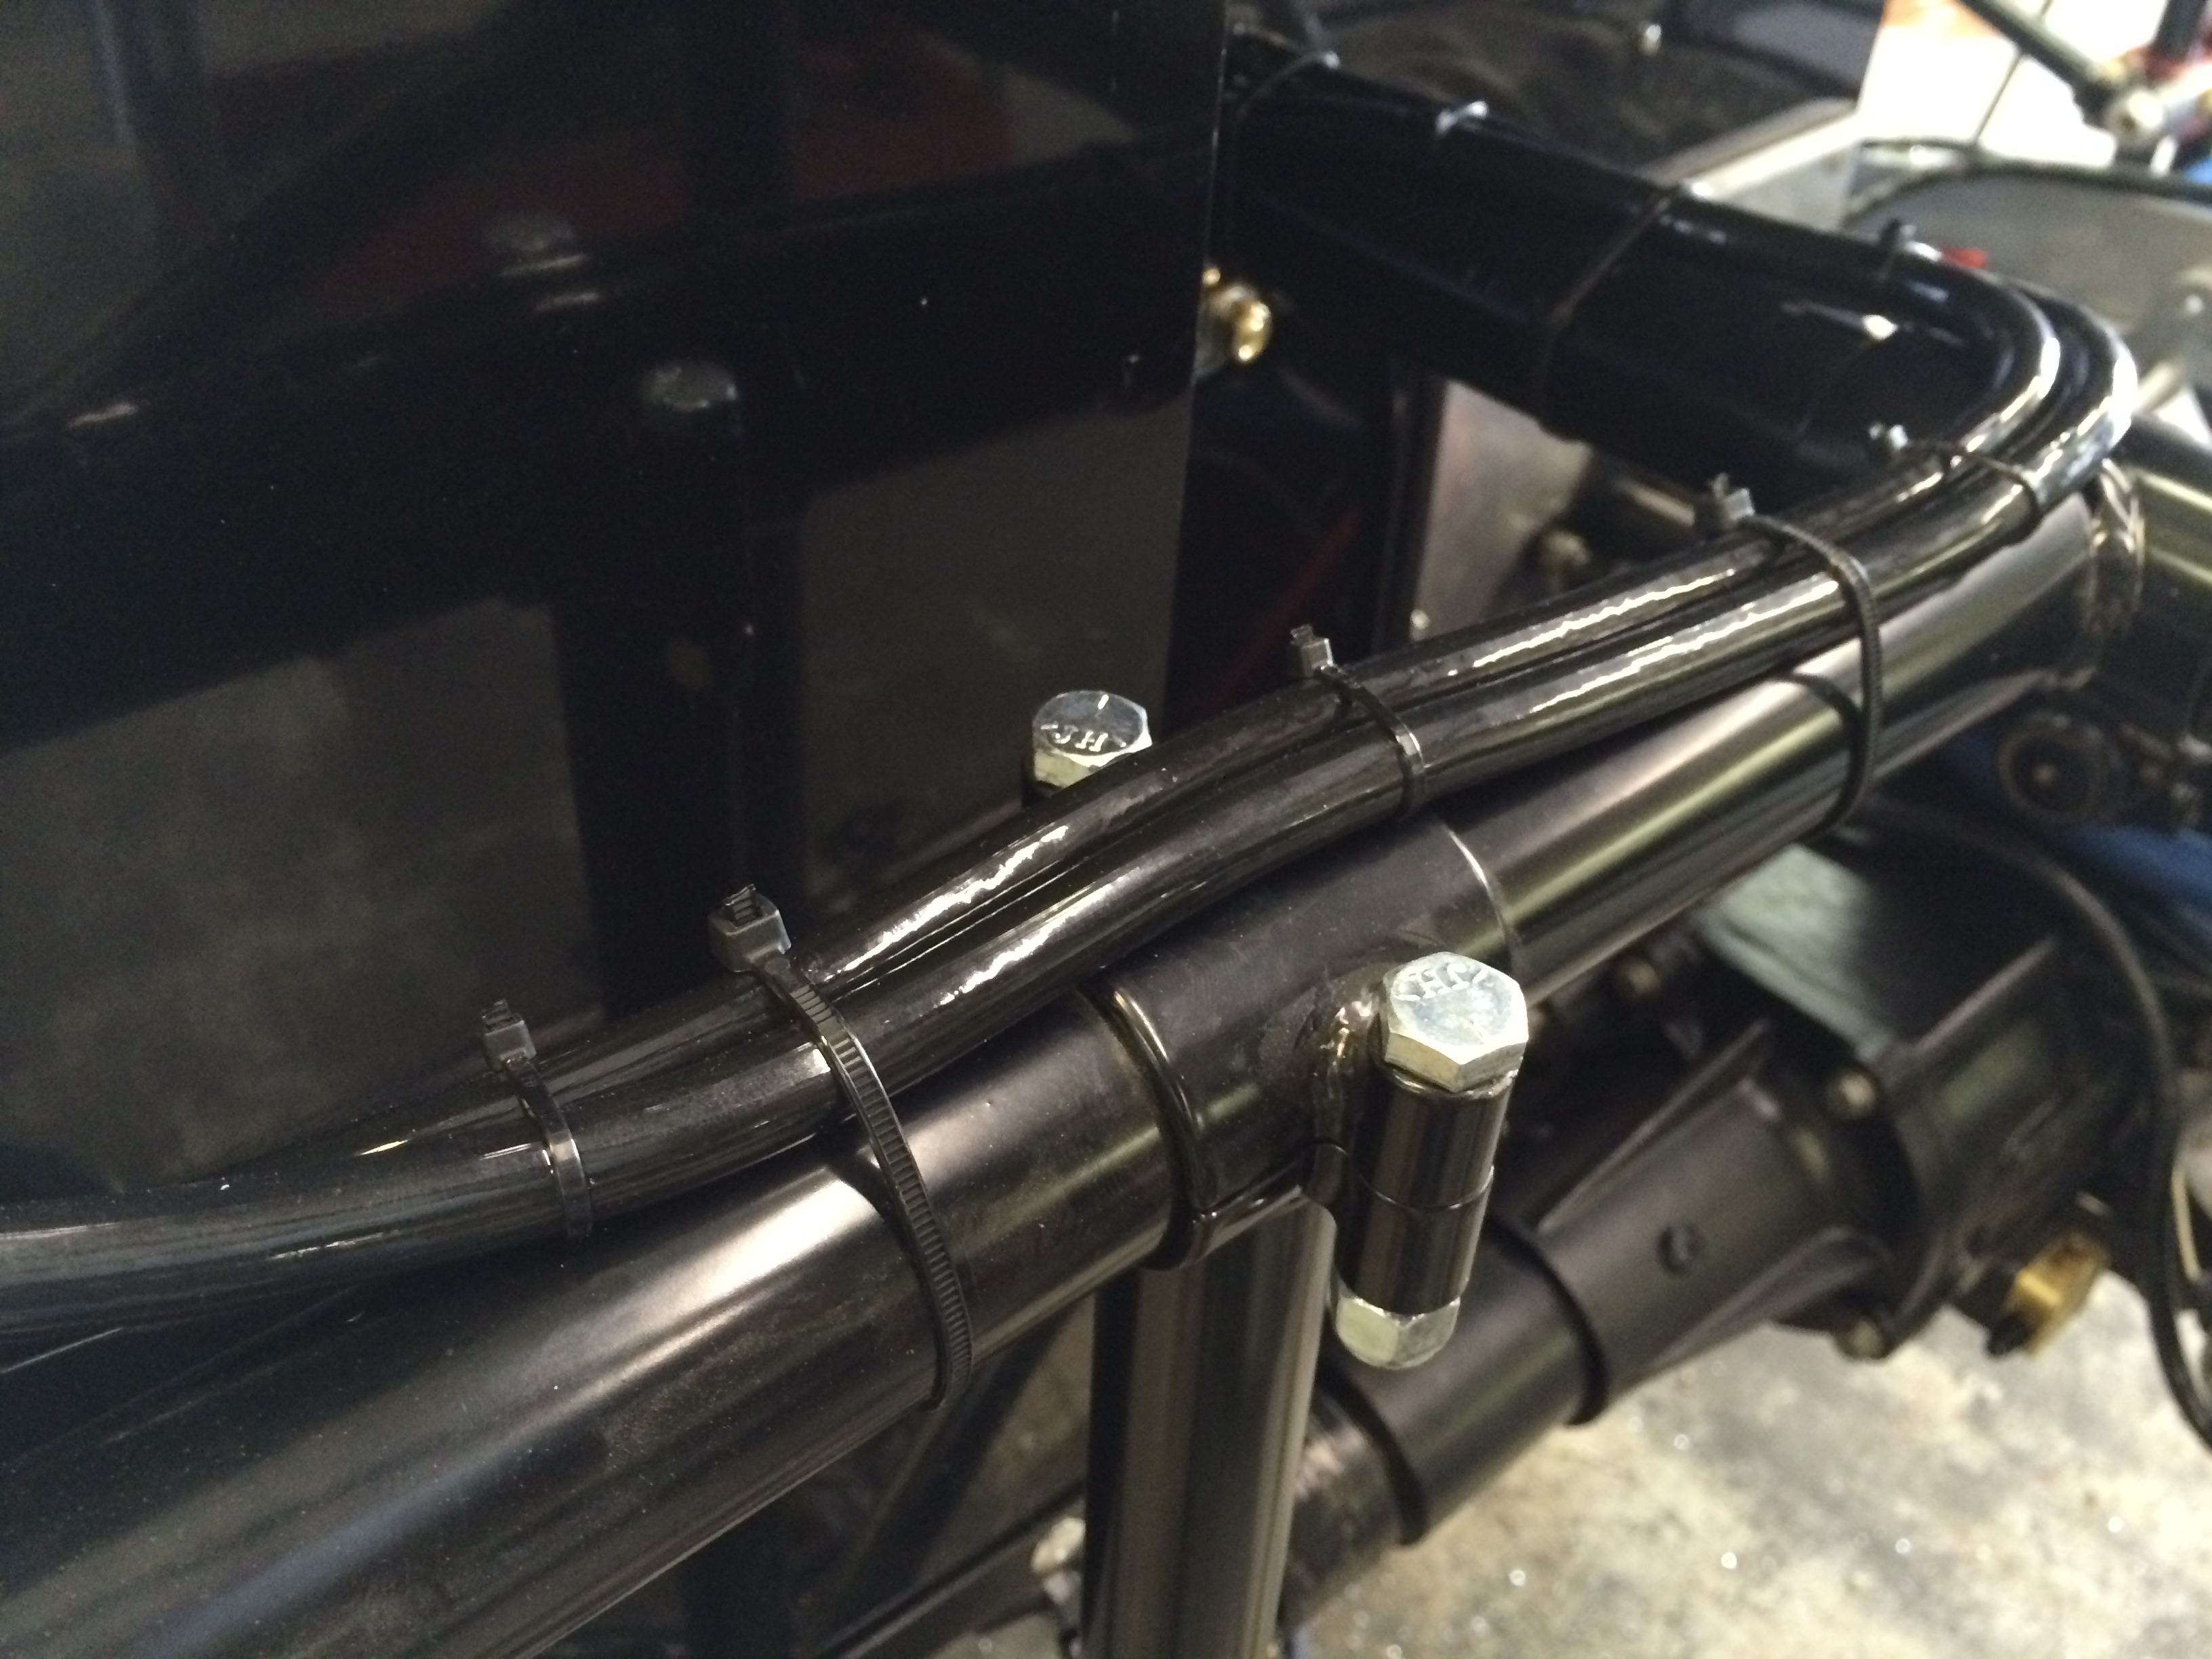
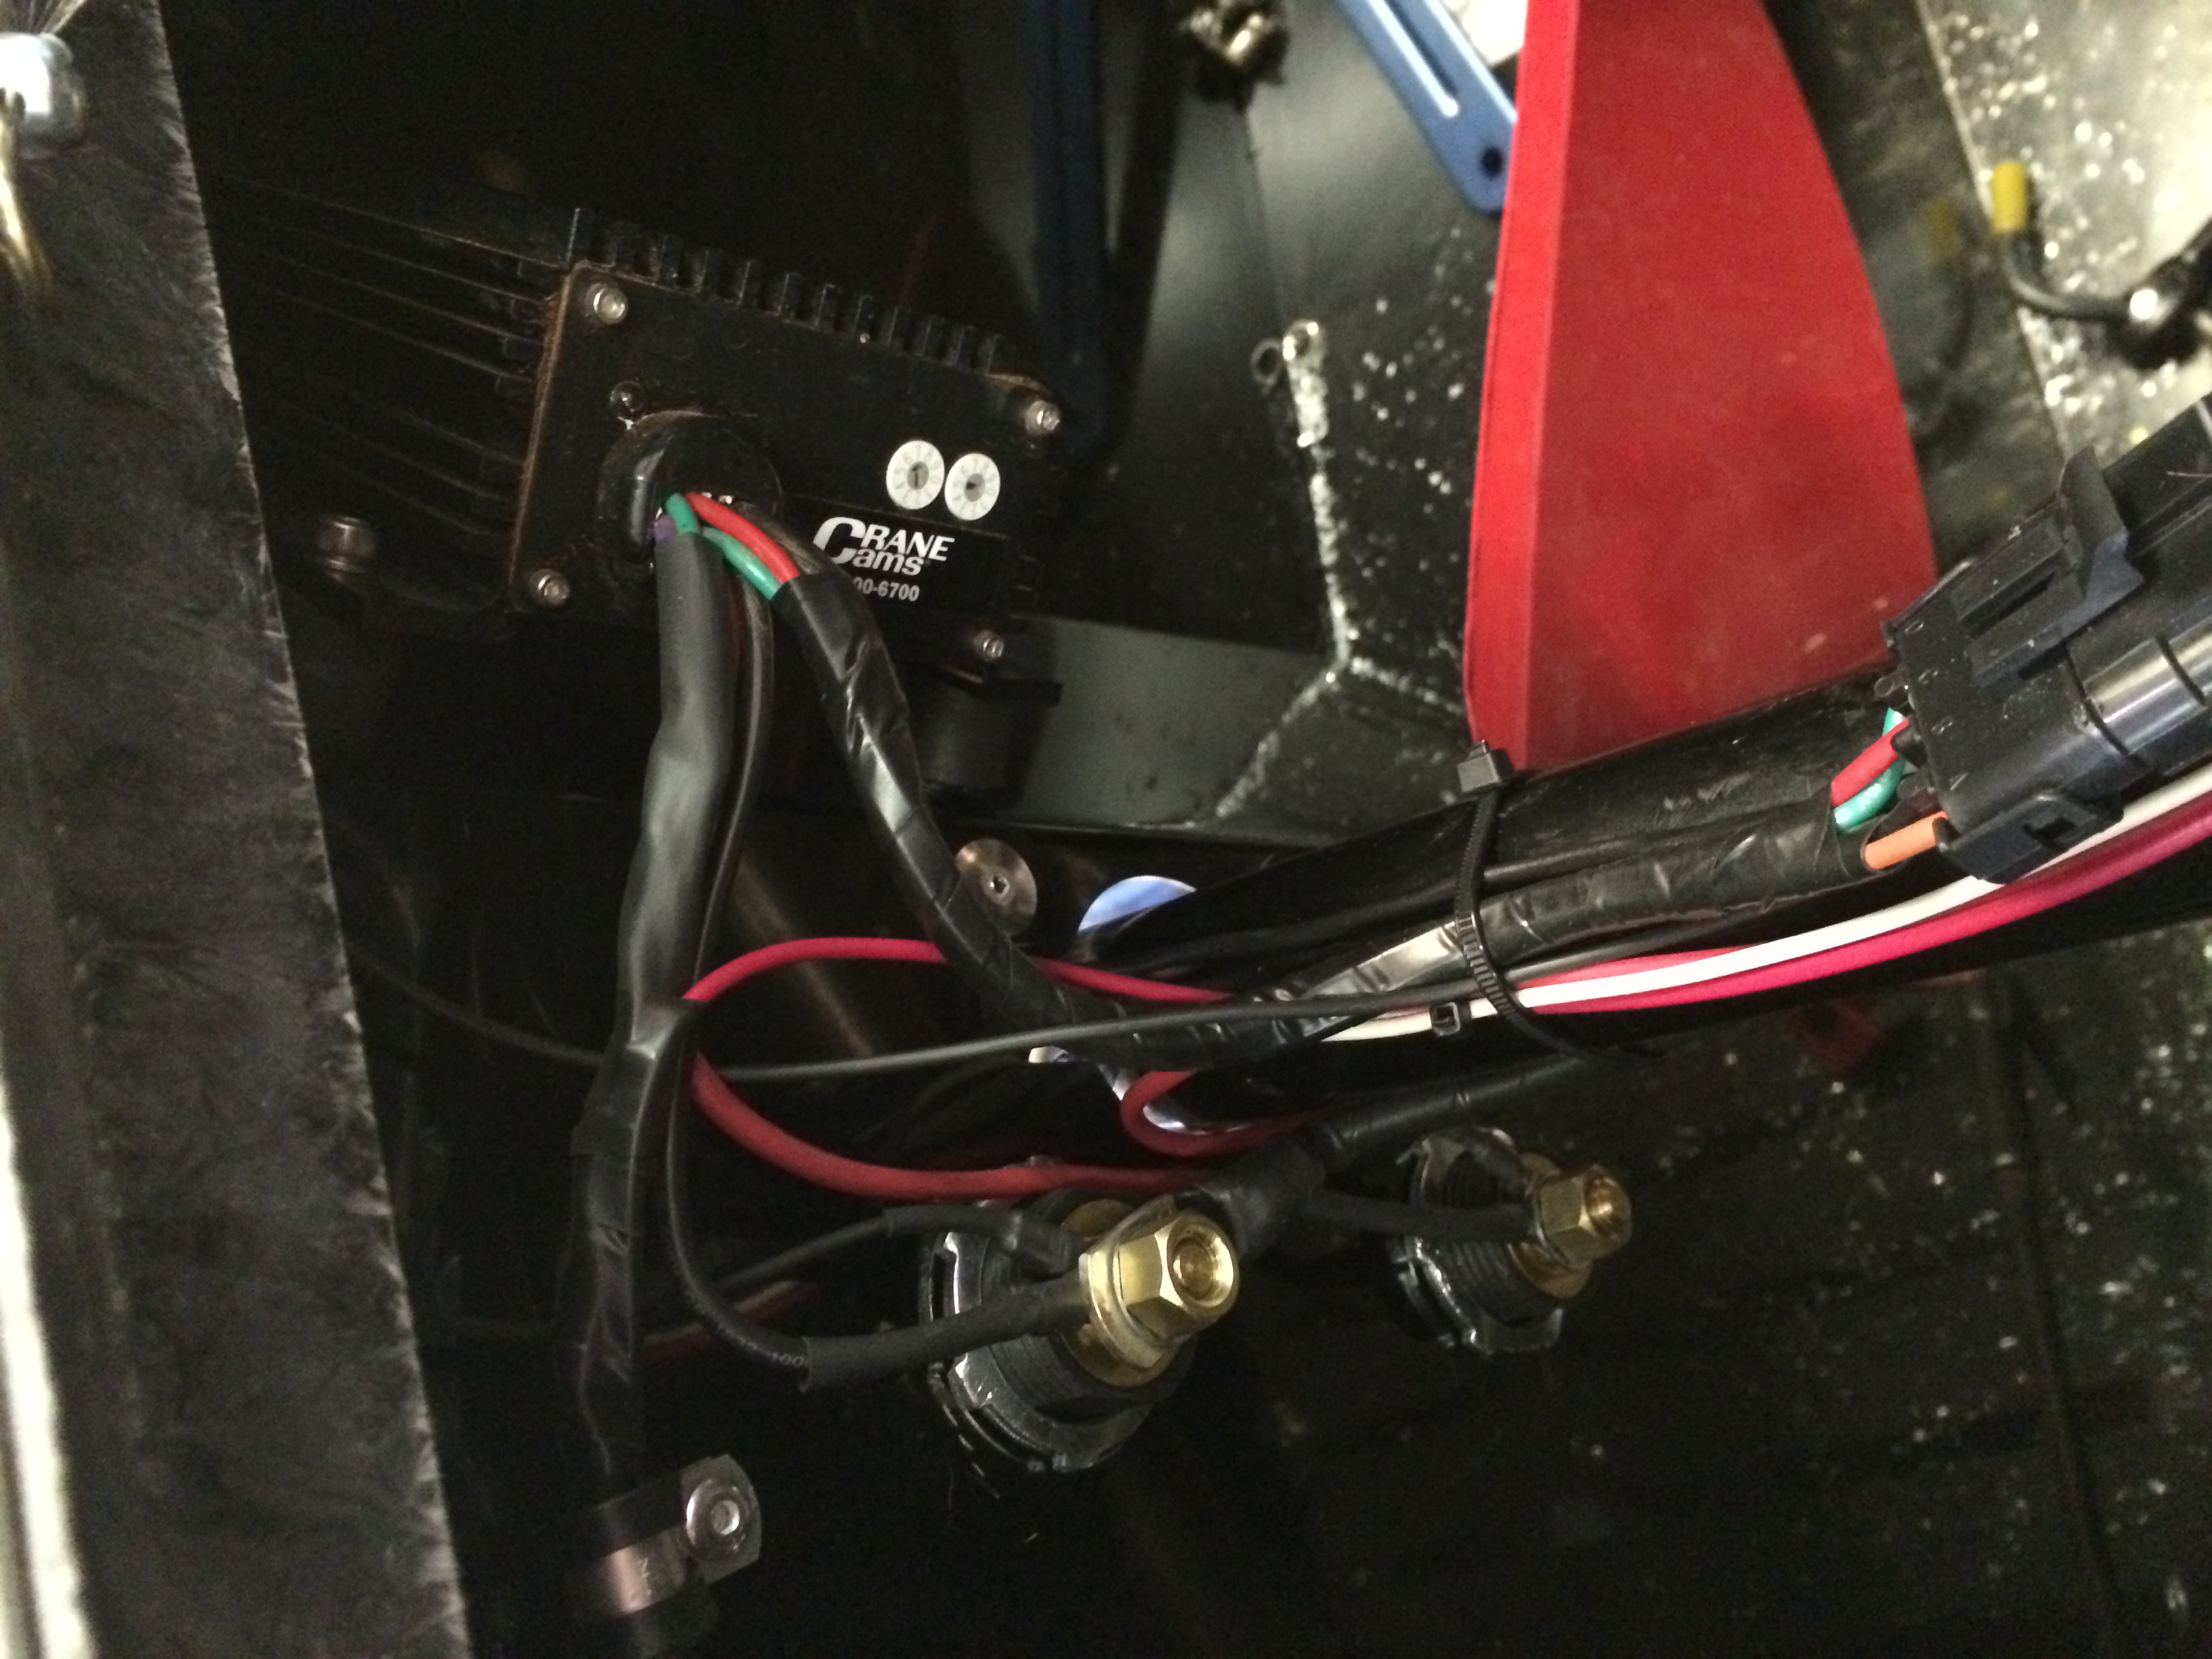
#2—Secure your wiring. Rule of thumb—you can never use enough zip ties. As stated earlier, vibration is a constant issue when it comes to your wiring. The best way to prevent issues is to secure it. In this picture, while the wiring may look neat and pretty, the important point is that it is effective and secured.
#3—Pre-bought wiring harnesses come with longer lengths of wire than you need. A common mistake is to wrap the excess into a bundle and zip-tie it together. There are two things to keep in mind on why this method is not effective: electrical wire loses voltage over distance and a bundled mess can cause crimps in the wires. A best practice is to cut the wire to the length you need.
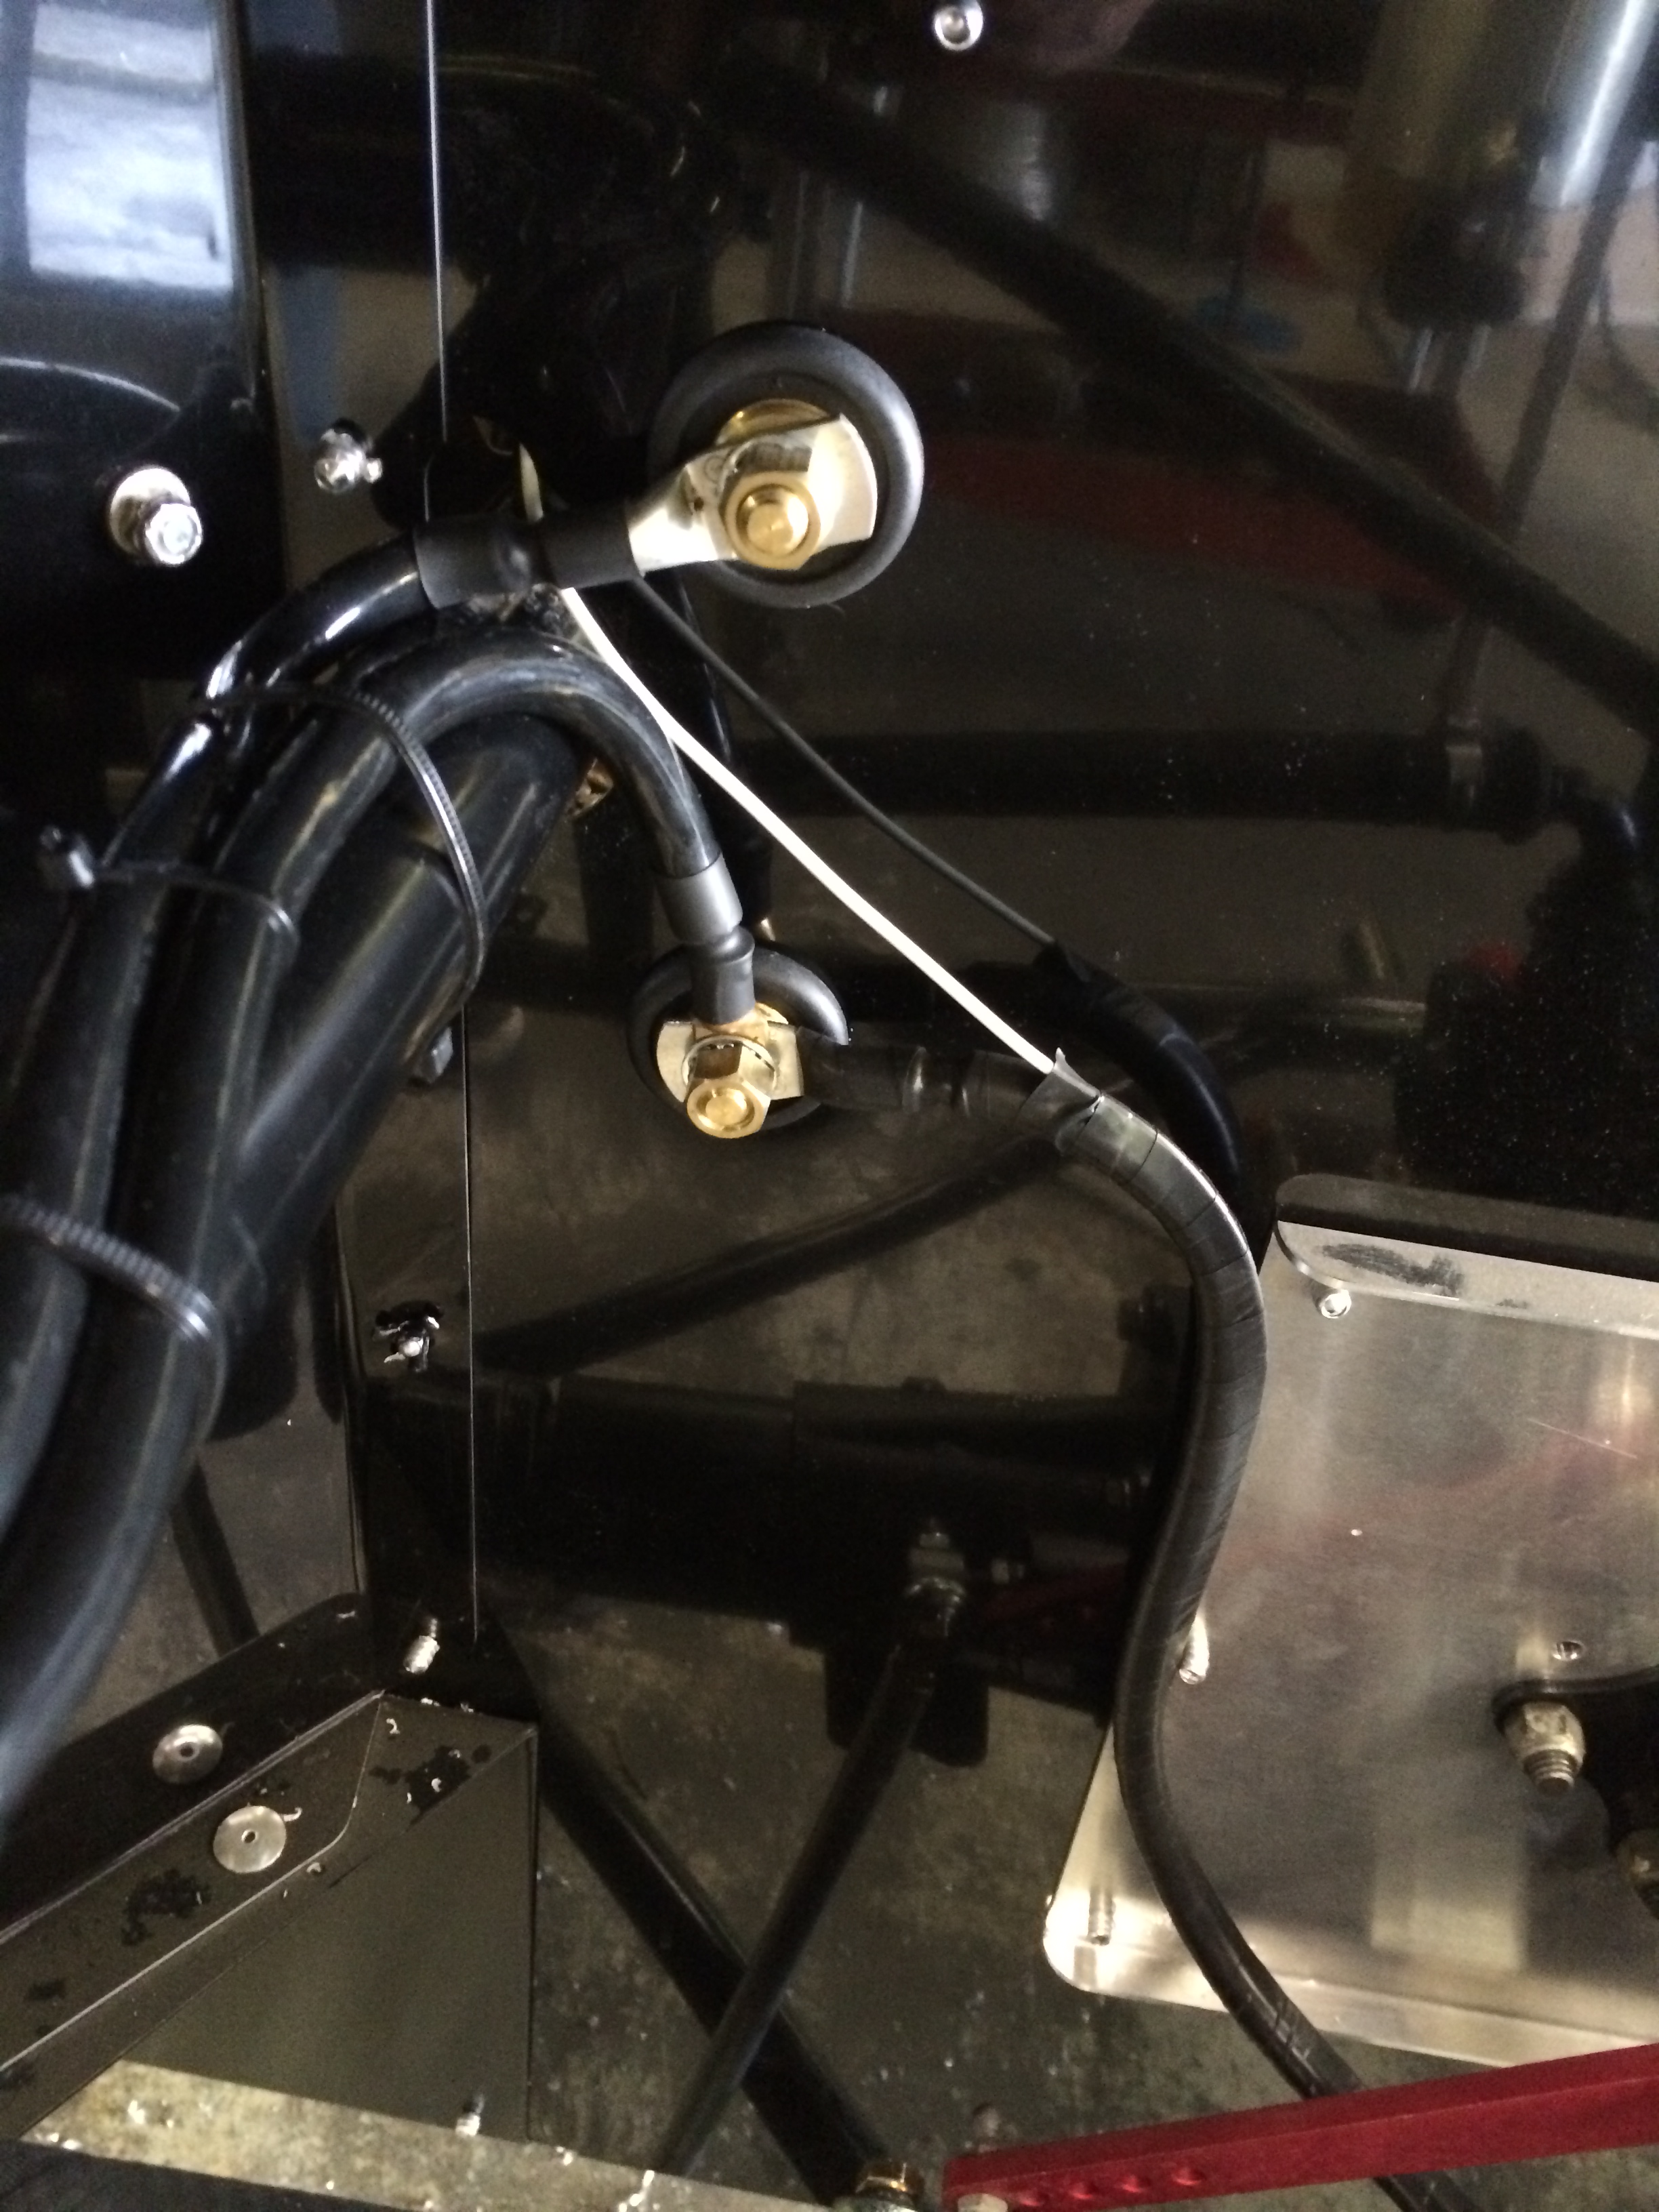
#4—Grounding is absolutely key to wiring a race car properly. While many chassis manufacturers provide a grounding stud somewhere on the chassis, the method recommended by electrical experts is to provide a main grounding point nearest to where the majority of the wiring is located. In this case, we are using a battery cable thru-stud secured to the firewall as the main grounding point. Secure the ground from the battery to the main grounding point, the engine and the chassis. Secure all other electrical grounds to the main grounding point. In the picture the main grounding point is the top stud. The stud below is where the positive connectors meet.
#5—Magnetic Pick-up Wires—keep them separated from other voltage sources by 1”-2”. When they are too close, interference can cause induction firing which in turn can cause pre-ignition. Many pre-made wire looms come from companies with the mag pick-up wires running parallel to the coil lead wires. If your mag pick-up wires are in the same harness as any other wire carrying voltage, separate the mag pick-up wires from the rest of the grouping. It is critical to keep your mag pick-up wires separate. Many engine failures can be attributed to incorrect wiring.
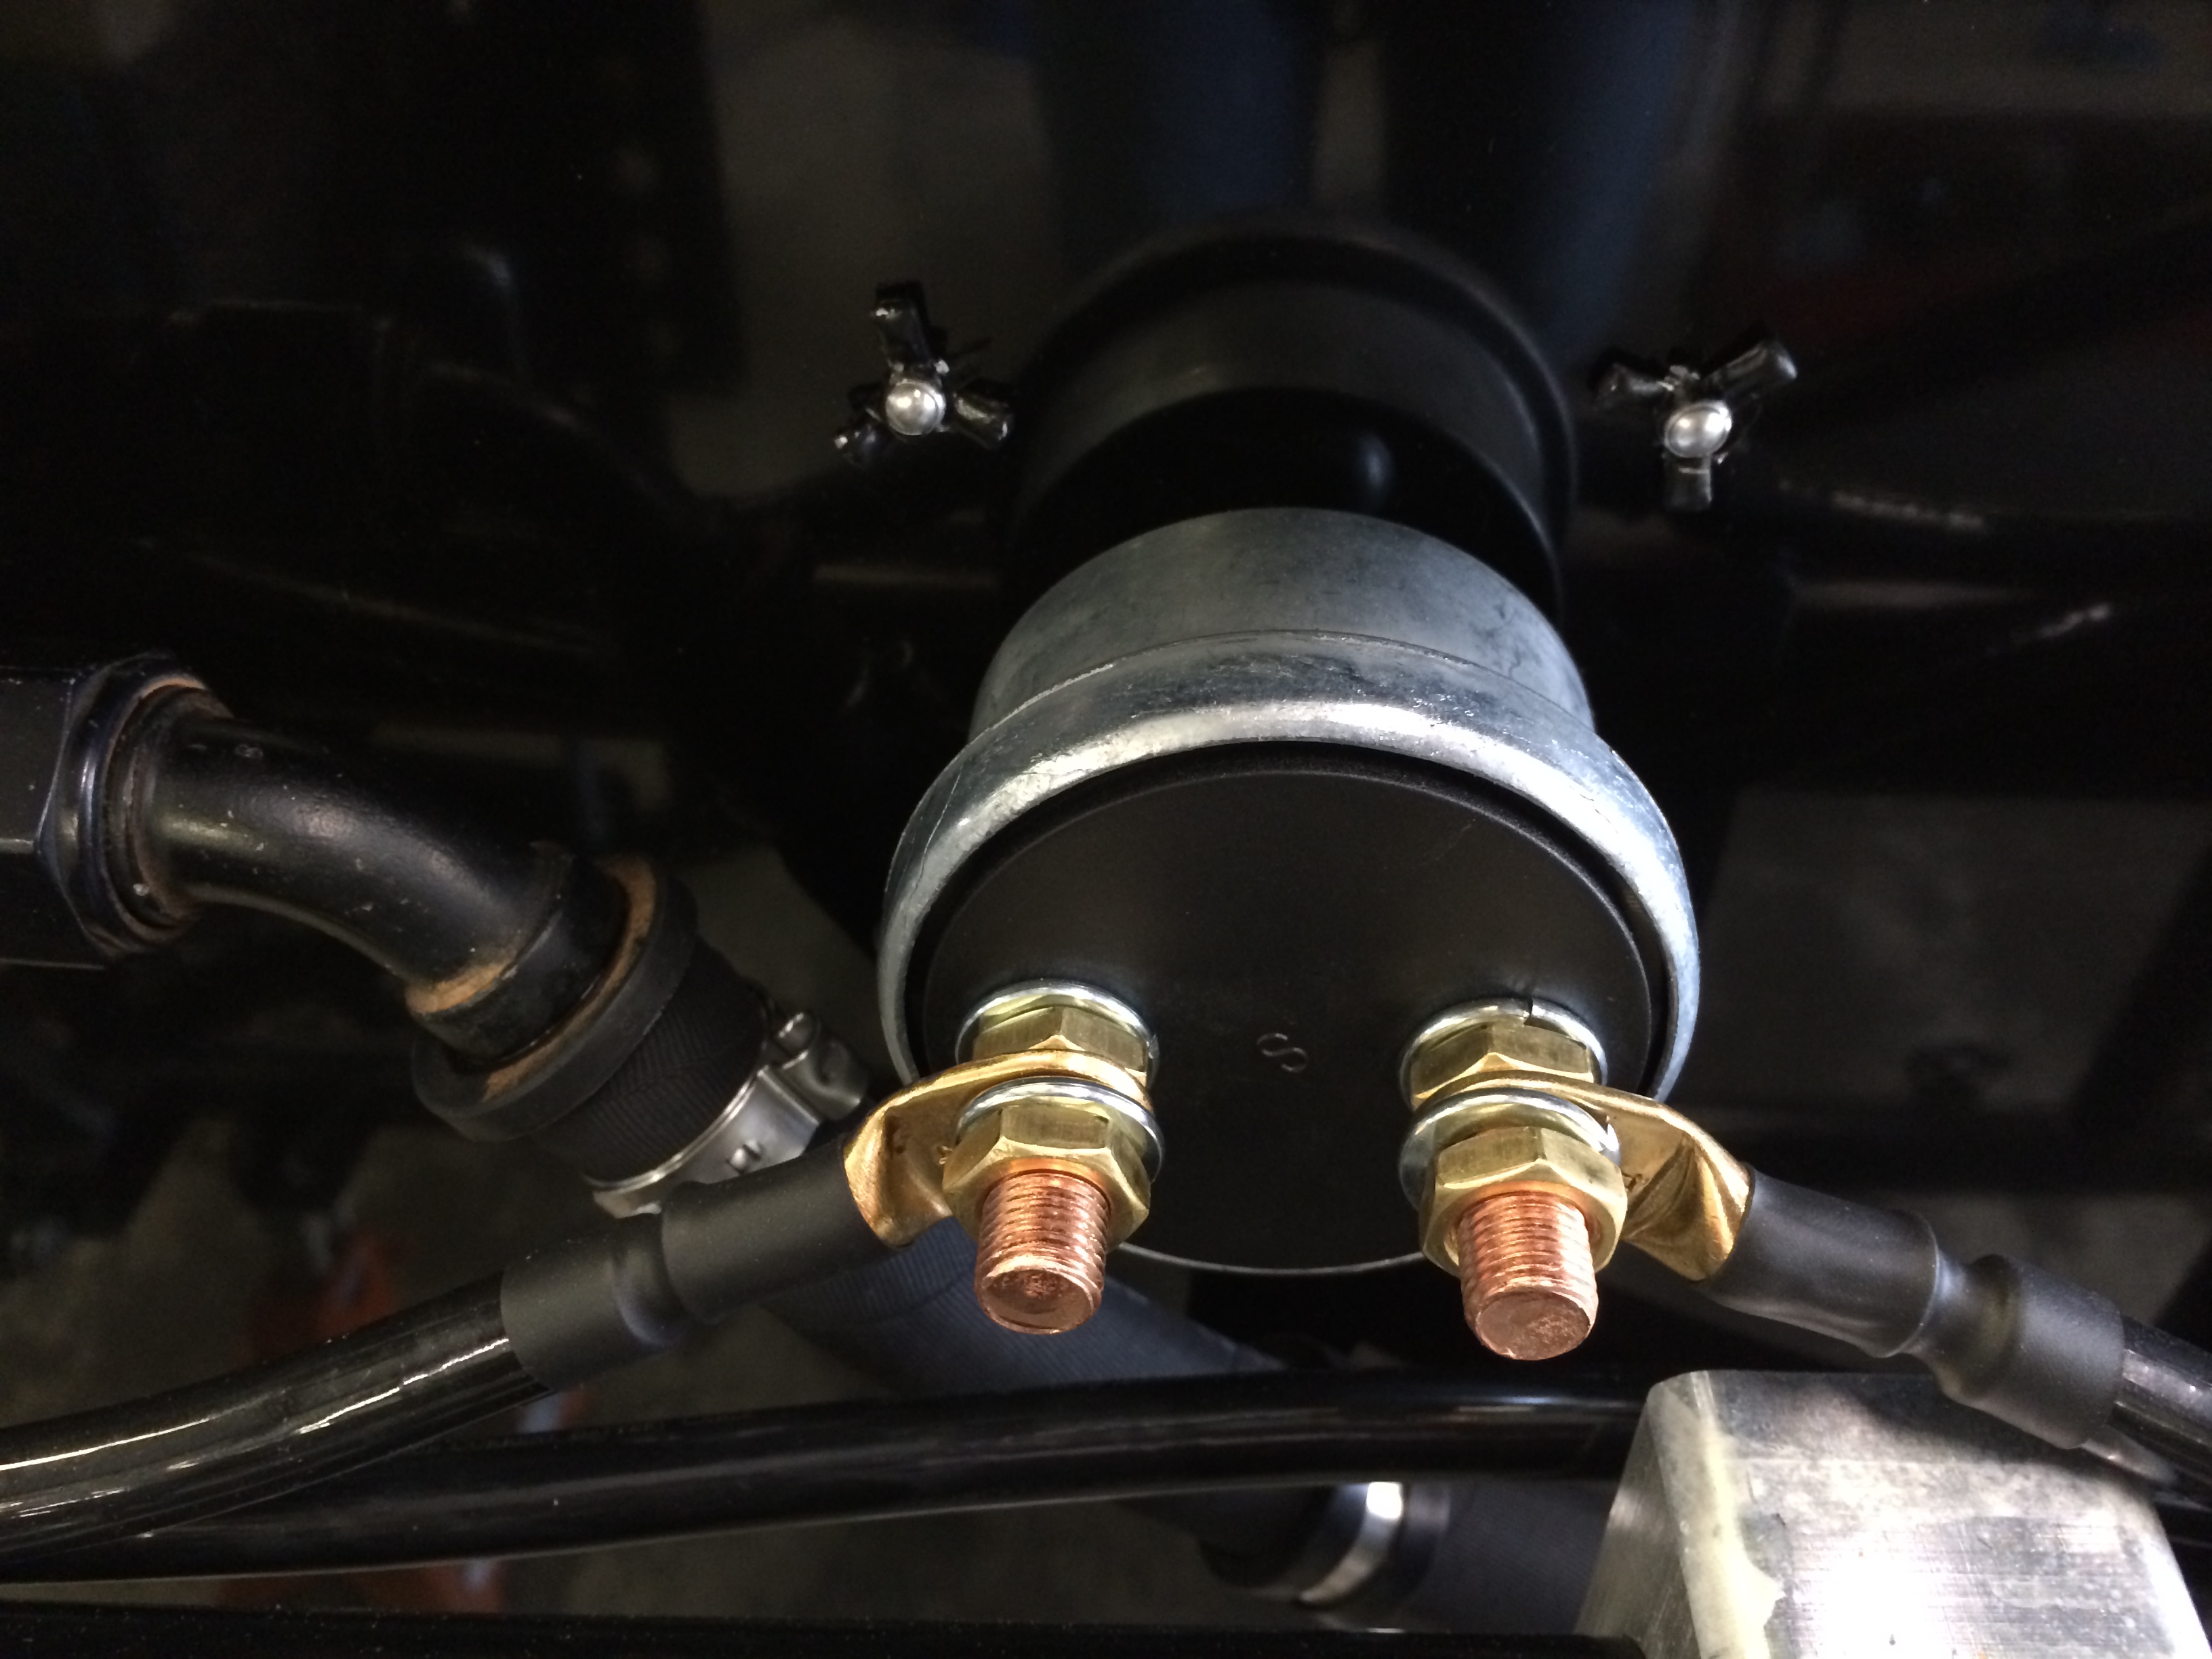
#6—Install a Master Disconnect Switch that will allow you to kill all power from the battery.
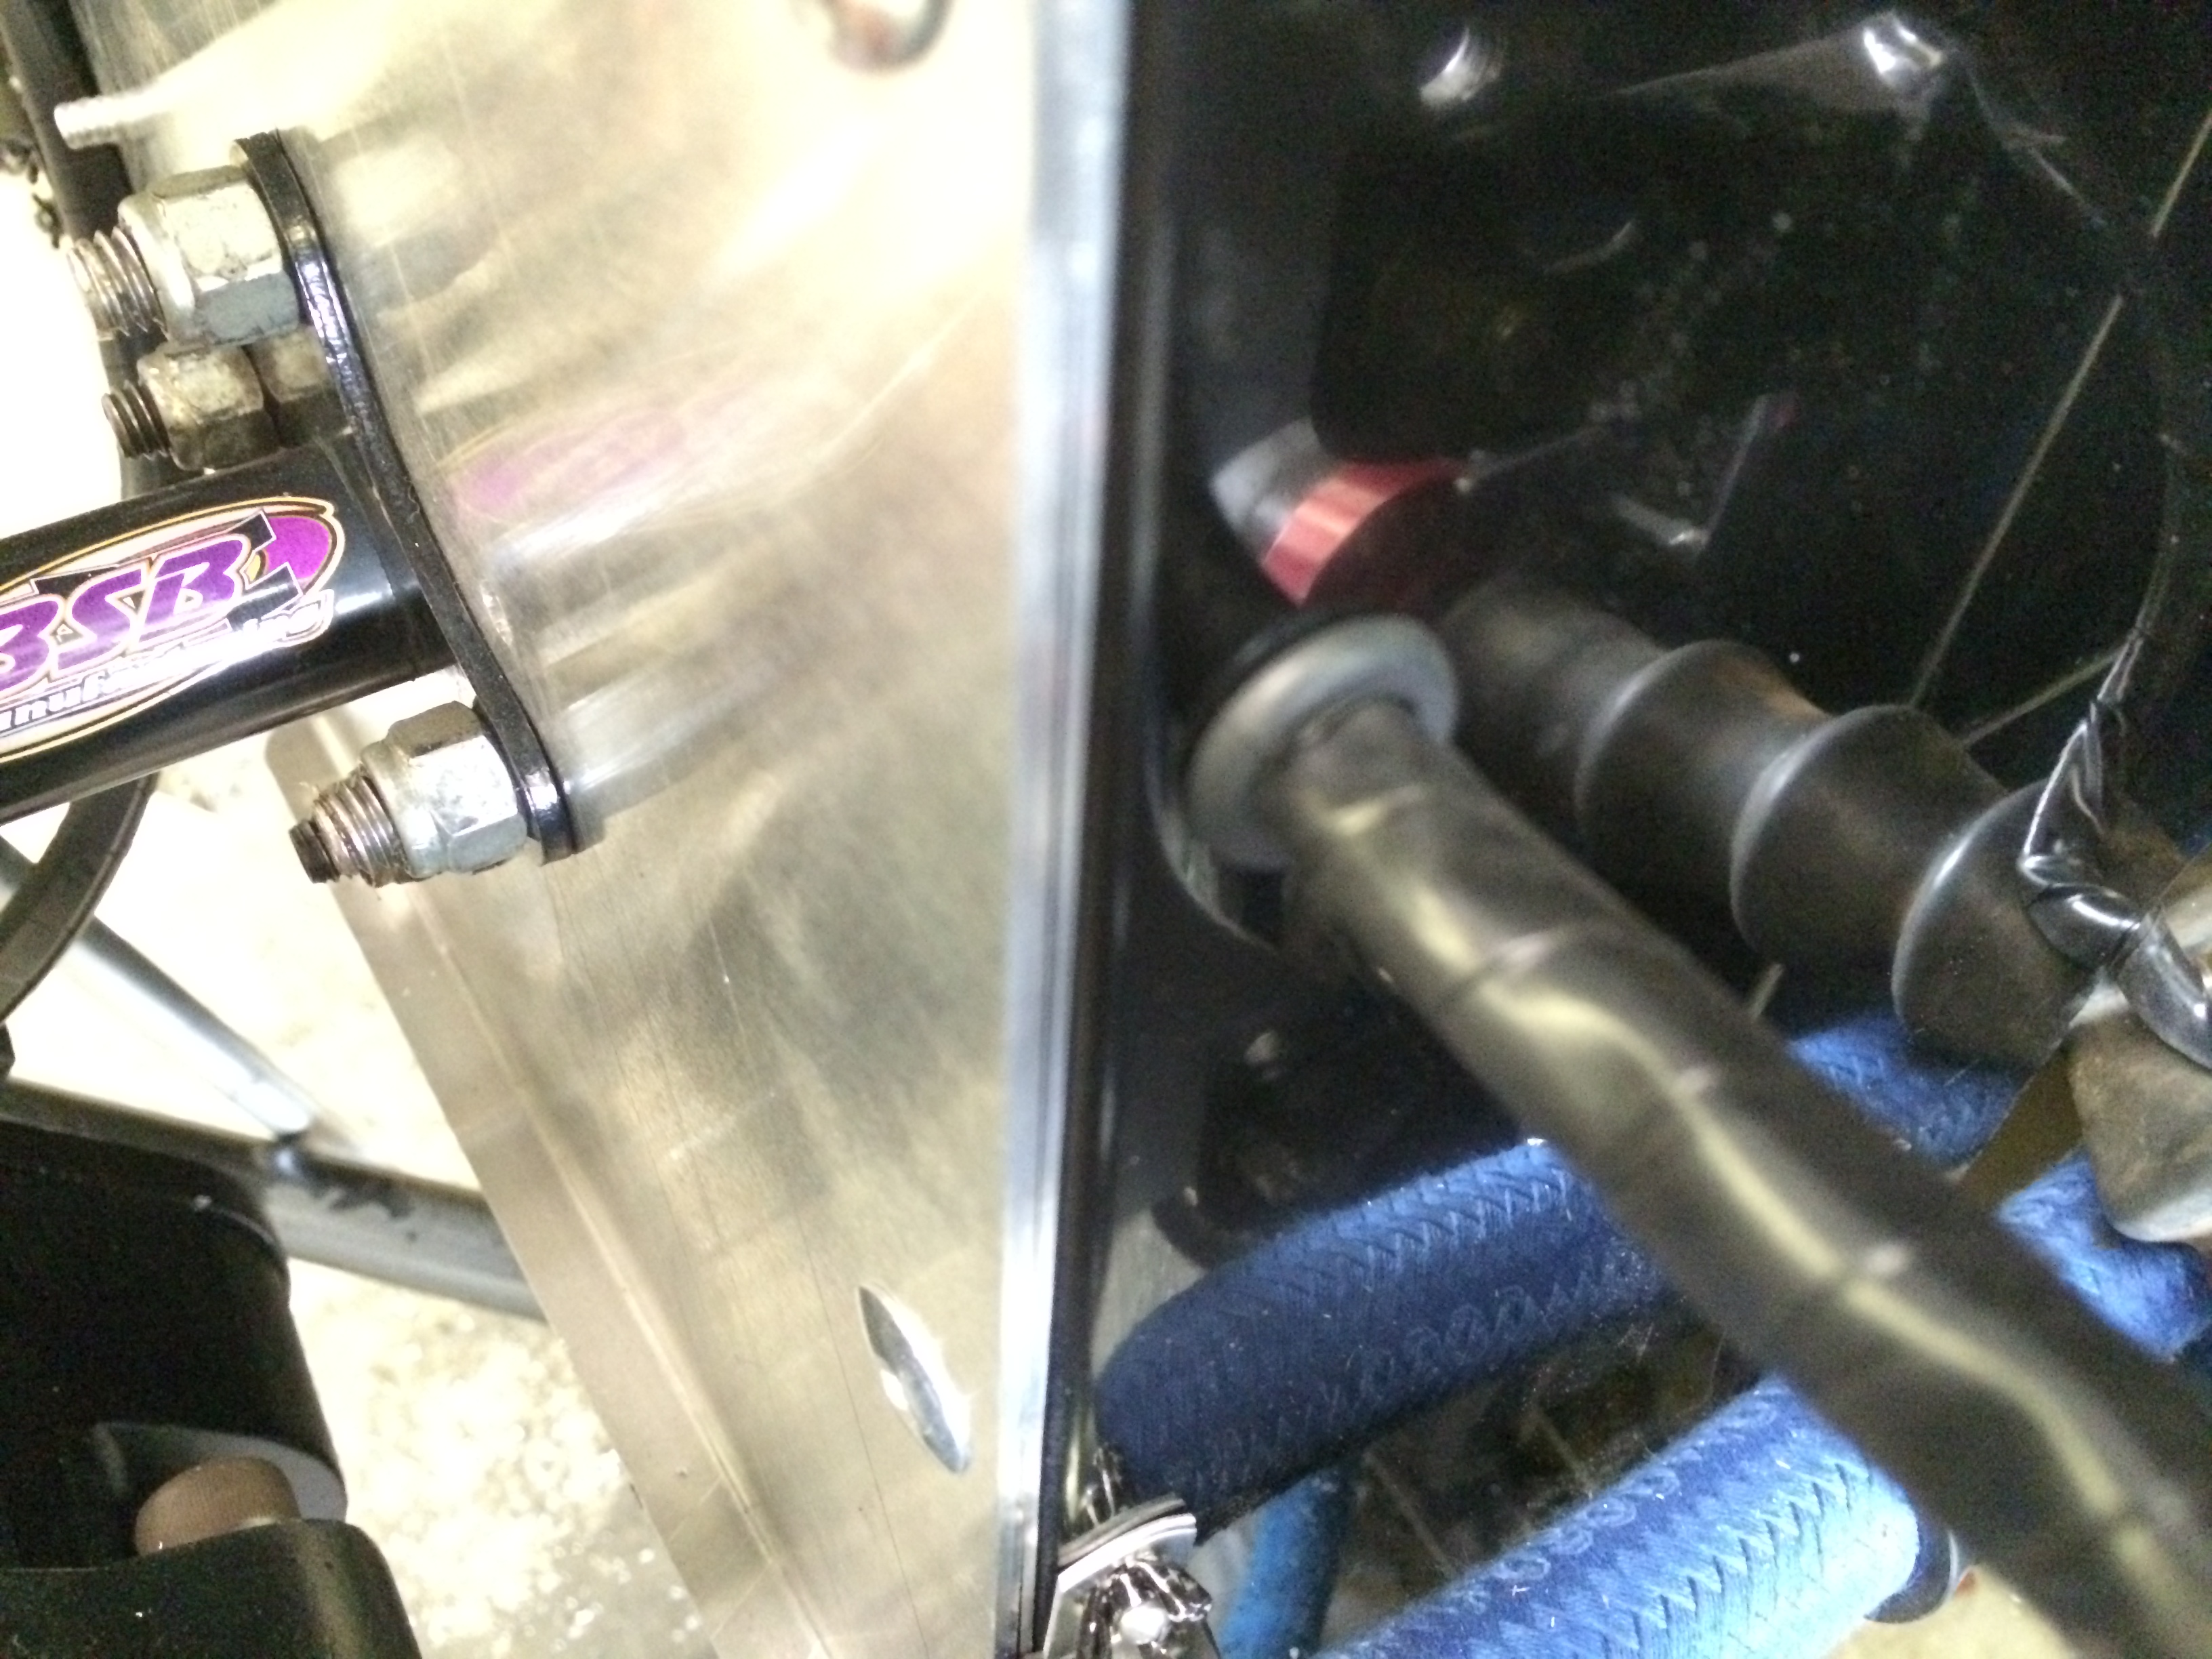
#7—Use grommets. If you have to run any wires through openings in the firewall, use a grommet to protect the wire from being sheared by the sheet metal.
